
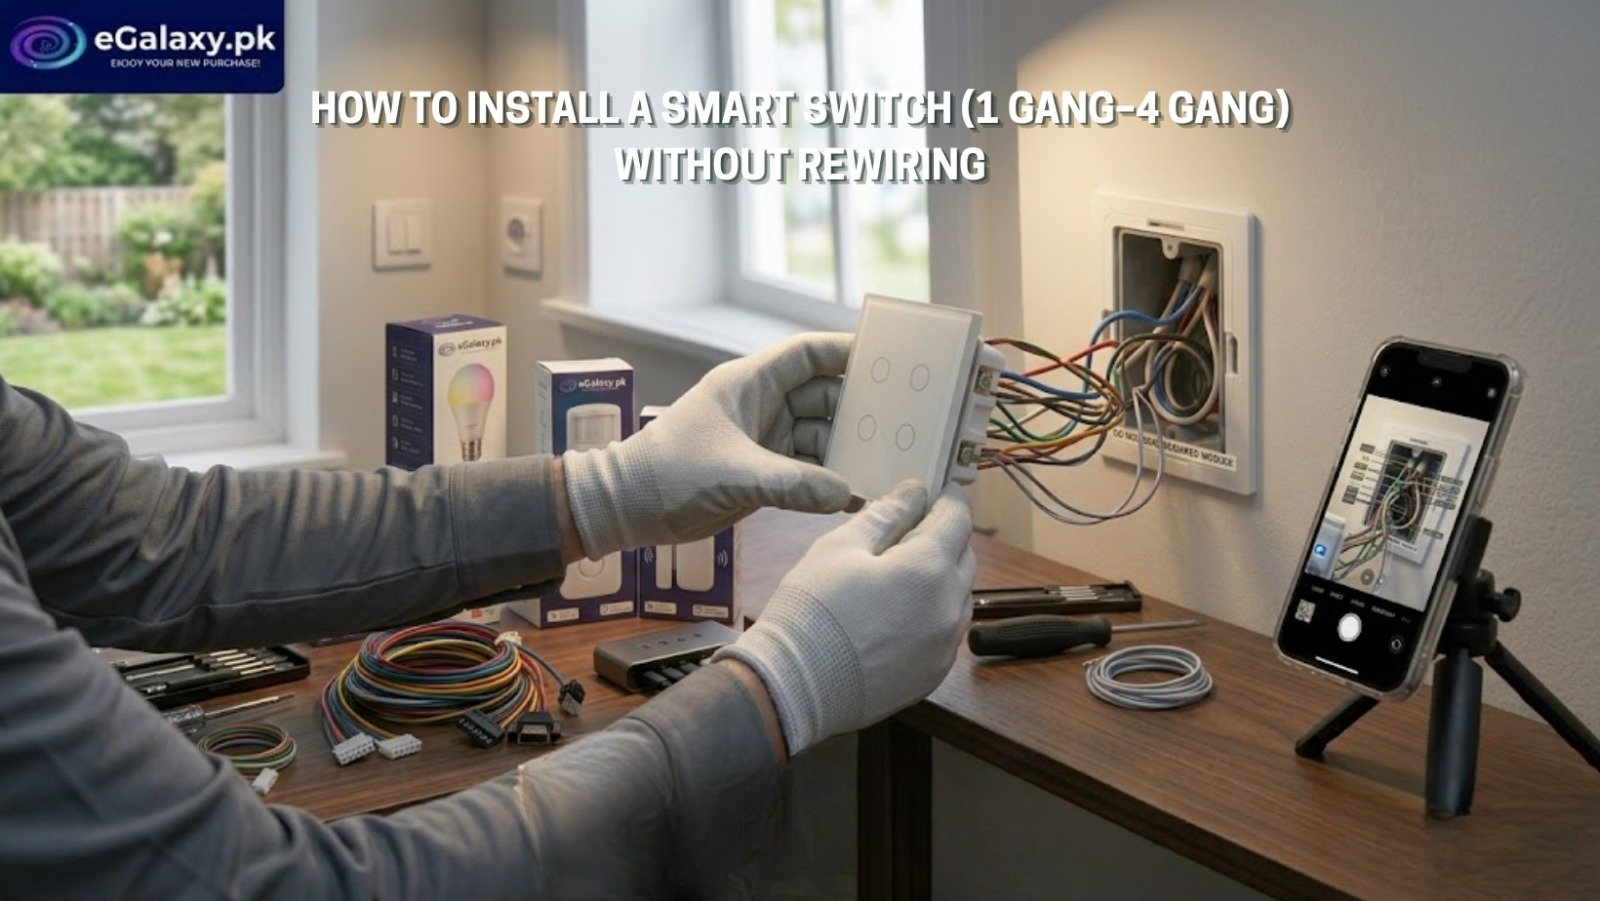
There’s a persistent myth around smart home upgrades in Pakistan: that turning your wall switches “smart” means tearing into the wall, calling in an expensive electrician, or rewiring half the room. It’s just not true, and it stops a lot of people from making what’s actually one of the easiest upgrades in home automation. How to Install a Smart Switch 1 to 4 gang.
You can bring your switches into 2026 without touching a single wire behind the plaster. This guide walks through installing a smart switch — whether it’s a single gang or a full four-gang panel — using the wiring that’s already sitting in your wall box.
Why Bother Upgrading in the First Place?
Mechanical switches have done the job for decades, but they only ever do one thing: complete a circuit when you physically press them. A WiFi wall switch does more —
- Control from anywhere — forgot to switch off a light before leaving for work? Handle it from your phone.
- Schedules — set porch lights to switch on at sunset and off at sunrise automatically.
- Voice control — sync with Google Home or Amazon Alexa so a light comes on with a sentence, not a walk across the room.
Most smart switches sold today, including eGalaxy’s Smart Switch range, are built to physically fit into the same wall box your current switch already sits in — no new wiring required.
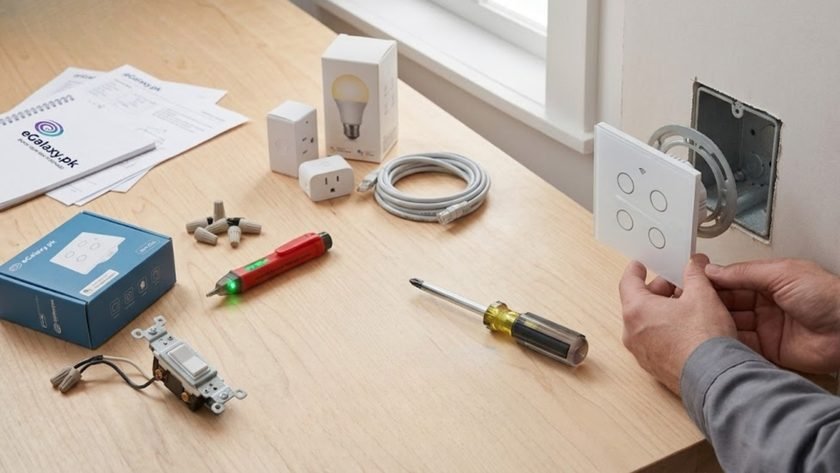
What You Need Before You Start
Check for a Neutral Wire First
This is the one technical detail that actually matters before you buy anything. Many older homes in Pakistan don’t have a neutral wire run to the switch box — just the live and load wires.
- If your box does have a neutral wire, most standard smart switches will work fine.
- If it doesn’t, you need a “no-neutral” specific model — eGalaxy’s 4 Gang + Touch Screen Panel is one example designed to work without one. Always check the product specification before buying, since not every smart switch supports this.
Tools Checklist
- A voltage tester (or a screwdriver with a built-in voltage sensor)
- Phillips and flat-head screwdrivers
- Your new smart switch
- A flashlight — you’ll be cutting the power, so you’ll need light to see what you’re doing
Step-by-Step Installation
Step 1 — Cut the Power First, Always
Never work on wiring with the power live. Go to your main distribution board and flip the breaker for the room you’re working in. Confirm it’s actually off by trying the existing light switch.
Step 2 — Remove the Old Switch
Take off the faceplate, unscrew the mounting screws holding the switch in the wall box, and gently pull it out.
Before you disconnect anything, take a photo of the existing wiring. It’s the easiest reference point if you get confused halfway through.
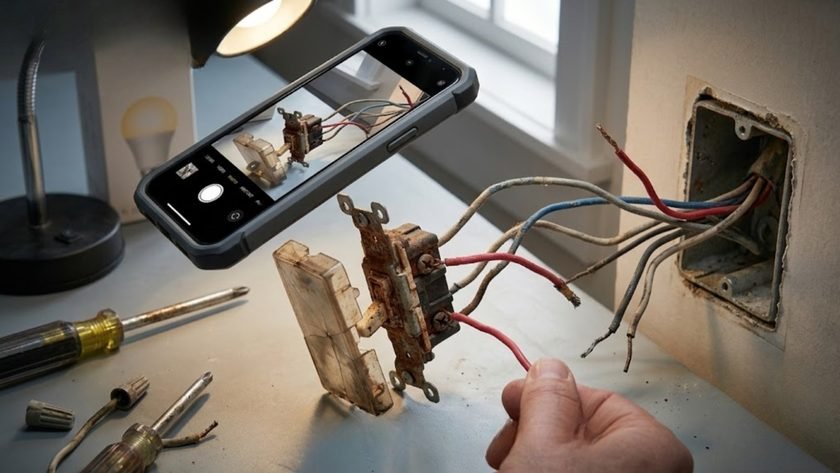
Step 3 — Identify Your Wires
You’ll typically find:
- Live wire — usually red or brown
- Load wire — the one running to your light bulb
- Neutral wire (if present) — usually black or blue
Test with your voltage tester one more time to confirm nothing is live before touching the terminals.
Step 4 — Connect the Smart Switch
Follow the wiring diagram included in your switch’s packaging:
- Live wire → the ‘L’ terminal
- Load wire(s) → ‘L1’, ‘L2’, and so on, depending on whether you’re installing a 1, 2, 3, or 4 gang switch
- Neutral wire (if your model requires it) → the ‘N’ terminal
Make sure every connection is tight — a loose wire is the most common cause of flickering lights or a switch that stops responding.
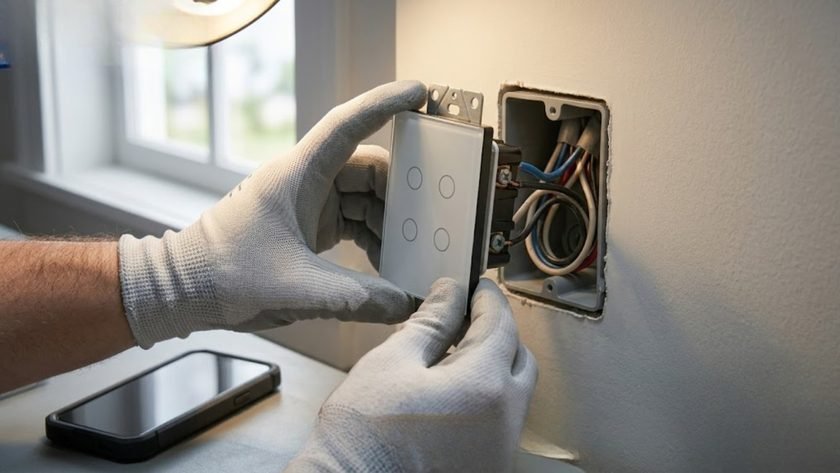
Step 5 — Mount and Secure
Push the wires back into the wall box carefully, without pinching them. Screw the switch into the mounting box and snap the faceplate into place.
Setting Up the WiFi Connection
With the physical install done, it’s time to bring the switch online.
- Restore power at the distribution board. The switch should start flashing, which means it’s in pairing mode.
- Download the app. Most switches sold at eGalaxy.pk pair through Tuya Smart or Smart Life.
- Add the device. Open the app, tap “+”, select “Add Device,” and let it detect your switch.
- Connect to Wi-Fi. Enter your home network password and let the app sync.
- Rename it — “Living Room Light” or “Bedroom Fan” — and you’re done.
Fixing Common Issues
Switch won’t connect to Wi-Fi. Almost always a network band issue — smart switches pair over 2.4GHz only, not 5GHz. Double-check which network your phone is actually on during setup.
Lights flicker after installation. Usually one of two causes: a non-dimmable LED bulb on a dimmer-capable switch, or a no-neutral switch missing its included capacitor. Check your manual — most no-neutral models ship with one specifically to prevent this.
Only one gang works on a 3 or 4-gang switch. Almost always a loose wire on the terminal block for that specific gang. Re-open the switch and check each connection individually.
A Cost-Effective First Step
Installing a smart switch yourself saves the labor cost of hiring an electrician for what turns out to be a fairly simple swap, and it gives you a genuinely useful understanding of how the wiring behind your walls actually works. Whether the goal is cutting electricity waste, adding a layer of convenience, or just making the house feel a bit more current, a 1 to 4 gang smart switch is one of the more affordable places to start.
For more context on how smart switches compare to the mechanical ones they replace, see our guide on smart switch vs traditional switch — or if you’re planning a wider setup, eGalaxy’s Home Automation collection covers switches, plugs, and sensors that all run through the same app.